Royal Quest - комплексный и полный гайд для новичка
Royal Quest is an isometric MMORPG set in the world of Aura, where magic coexists with steam engines and alchemical laboratories. Developed by Katauri Interactive—the same studio that brought us Space Rangers and King's Bounty—its signature style is recognizable from the first minutes: warm hand-drawn visuals, slightly ironic quest texts, and a world that is simply pleasant to be in. The story revolves around Elenium, a mineral that caused black alchemists to invade the kingdom of Elenia. King Roland calls for volunteers, and you are one of them.
The game is free-to-play, runs on PC, and is accessible through the official website and Steam. Registration takes a couple of minutes, the client downloads itself, and no subscriptions are needed to start. The game world is unified into a single server, which is great news for beginners: the market is alive, groups are forming, and you don’t have to search for active players.
This guide will take you from the character creation screen to level 65 — the level cap — and explain things the game either doesn't mention or whispers too quietly. We will pay special attention to traps that catch almost every second beginner: they aren't fatal here, but they are frustrating.
Controls, Interface, and Hotkeys
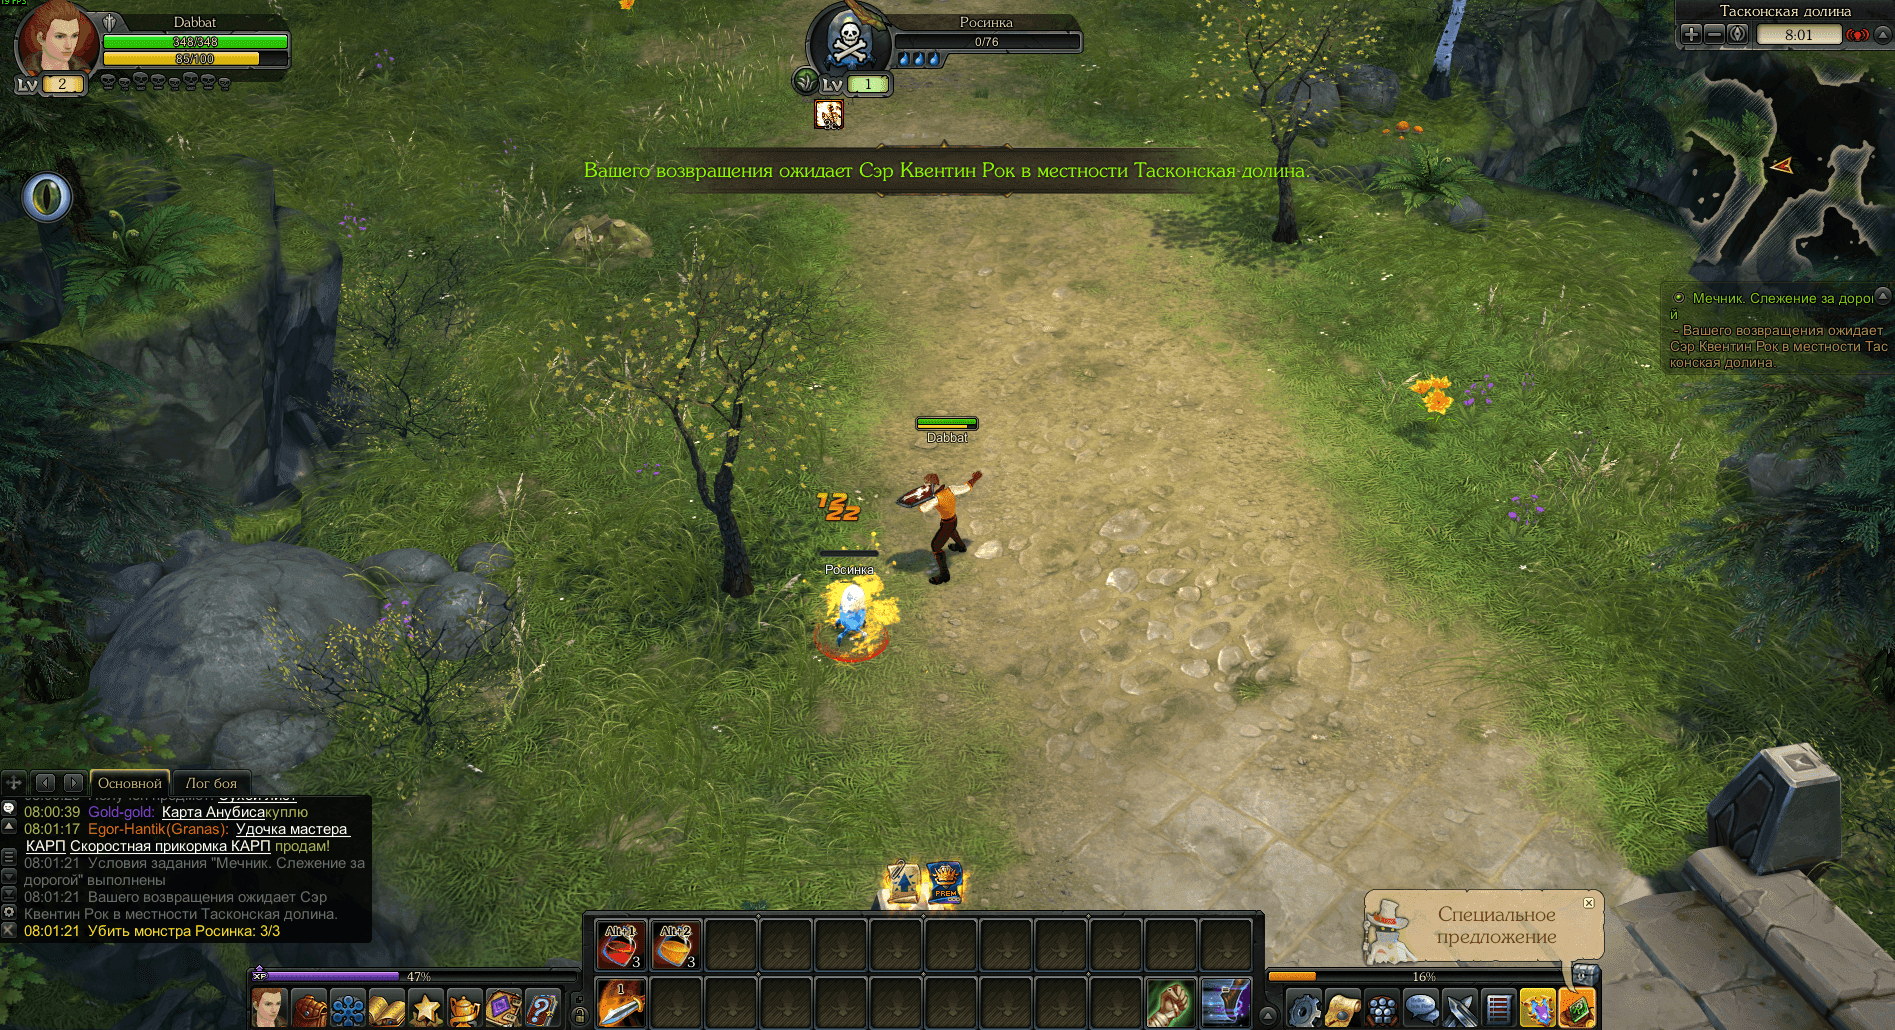
To play comfortably from the very first minutes, it's important to master the controls and know where everything is:
- Left Mouse Button (LMB): Move to a point, interact with objects, and auto-attack. If you hold LMB, the character will run after the cursor. Clicking on a target initiates auto-attack — the character will run to the required distance and start hitting, navigating around obstacles.
- Right Mouse Button (RMB): Holding it allows you to rotate the camera. The mouse wheel zooms the view in and out.
- Target Info Panel: If you hover the cursor over a monster and press LMB/RMB, you will see its level, health bar, and most importantly, its protective element.
- Talents and Abilities Window (K key): All your active abilities are stored here. Drag them to the Skill Panel at the bottom of the screen to use them via mouse or hotkeys.
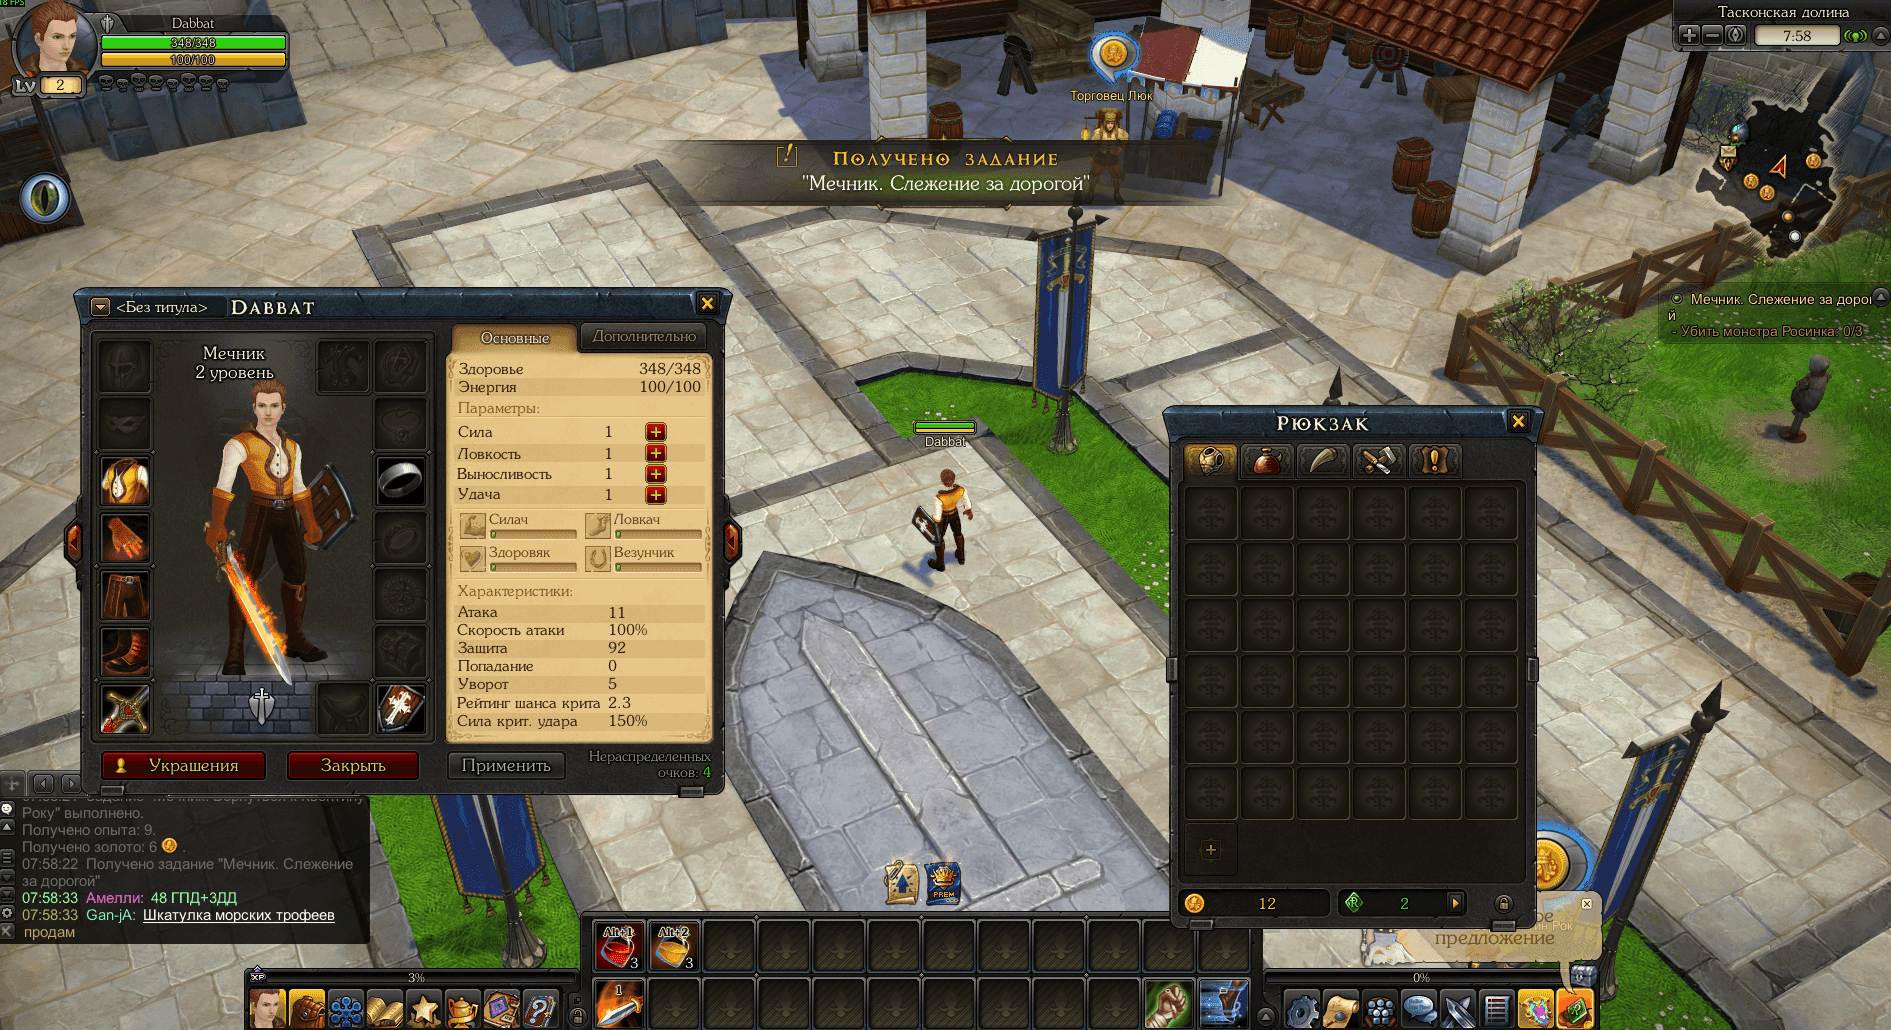
- Loot Collection: Run up to dropped items and click LMB/RMB, or use auto-pickup (usually the 4th mouse button). Loot is automatically sorted into Backpack tabs (Equipment, Consumables, Trophies, Crafting Items, Quest Items). If your backpack is full, the loot will stay on the ground.
Character Creation: What Can Be Changed Later and What Cannot
There is only one race in Royal Quest — humans, so the choice comes down to appearance, gender, name, and starting class. Appearance is purely cosmetic and does not affect stats. However, the class is a lifelong decision for the character: you cannot change it; you can only create a new hero on the same account.
There are four starting classes: Warrior, Archer, Mage, and Rogue. At level 20, each of them branches into two specializations, and this is where the choice becomes much more serious, because the specialization determines what you will be doing for the next forty-five levels. We will return to this crossroad separately.
The first few levels fly by quickly and with almost no resistance: you are given a starter set of armor and a weapon, monsters in the starting locations hit weakly, and quests lead you by the hand. Use this time to get used to the controls and understand if you like the combat rhythm of your chosen class. If you realize after half an hour that you don't like it, it's better to recreate the character now than at level forty.
The Four Classes: What They Really Do
Class descriptions in the game sound equally heroic, so let's break down the essence — what you will actually be doing with your hands.
Warrior — a melee fighter with a shield and heavy armor. He takes hits, knocks enemies down, and draws monster aggro. His "Crushing Blow" ability is available from level one and gradually strips the target of "Strong Armor," applying "Broken Armor" and reducing defense by 4% per stack. At level 10, the "Steel Defense" aura unlocks, raising defense by 20% — you will be invited to groups for this. At higher levels, the Warrior mounts a horse and takes a spear, gaining a whole set of cavalry skills like "Breakthrough" — a mounted charge where the hero delivers up to seven strikes.
Archer — a ranged fighter with a bow, traps, and high mobility. Plays simply and forgives mistakes early on: you mark a target with the "Target" skill, gain 15% extra damage against it, and comfortably shoot it from twelve meters away. Traps appear at level three ("Thorn" slows caught enemies by 50% for six seconds), and at level ten, the "Tirelessness" aura speeds up group movement by 10%. If in doubt about who to start with, start here: the Archer requires the least equipment in the early stages.
Mage — the most fragile and gear-dependent class. Excellent magical defense, but low health and almost zero physical defense, so all gameplay revolves around distance and keeping enemies away. In return, they gain access to elemental magic and, at level 20, choose between support and pure damage.
Rogue — fast melee combat without armor. Lives on evasion, critical hits, and stealth, not health: after taking a couple of hits, the Rogue dies. However, they deliver some of the best single-target damage in the game. This is the most demanding class for beginners.
Important note: classes are noticeably unbalanced before level 20, and that's normal. Warriors and Archers feel more confident early on, while Mages and Rogues blossom later. Don't judge a class by the first ten levels.
Resources: What You Pay for Skills
Every skill has a cost, and in Royal Quest, this cost is not only paid in mana. Mages spend Mana — the familiar blue resource that regenerates itself and scales with Intellect. Warriors, Archers, and Rogues spend Energy, whose volume is tied to Endurance.
On top of this, classes have their own second resource, which dictates the rhythm of combat. For the Warrior, it's Fury: one fury skull is gained for every five hits dealt or taken. Outside of combat, the reserve melts quickly, and it is spent on the most powerful skills. "Flurry" with a spear, for example, increases its damage by 25% for each point of Fury and burns the entire accumulated reserve — your job is not to hoard Fury, but to cash it in on time.
For the Archer, instead of Fury, there is Focus. It grows from certain skills and occasionally from normal hits, and is spent to empower shots: "Aimed Shot" and "Piercing Shot" deal 30% more damage when Focus is spent. At level 14, "Concentration" appears, fully restoring the reserve over four seconds — keep it for when Focus is needed immediately.
The point of this system is that simply holding down one button is inefficient. Cheap skills generate resources, expensive ones spend them, and combat turns into short "accumulate-spend" cycles. The sooner you understand this, the sooner you'll feel your character hitting noticeably harder than a neighbor of the same level.
Stats and the Multiplicity Rule
With every level, your character receives stat points distributed manually. There are four classes, but each has only four available stats to invest in — the game simply hides the unnecessary parameters to avoid confusion. The primary combat stat depends on the class: for Warriors and Rogues it's Strength, for Archers it's Precision, for Mages it's Intellect. The remaining points are usually distributed among Agility, Endurance, and Luck.
What each does: Endurance gives health and increases Energy reserves; Agility increases attack speed and evasion; Luck increases critical hit chance; and Precision is responsible for crit power and overall hit chance.
Now, the most important thing the game doesn't tell you. Royal Quest uses a multiplicity system: every ten invested points grant an additional bonus on top of the usual increase. For Luck, each individual point adds 0.3% to crit chance, but at every tenth point, you get an extra +1% to crit and +2 to hit. For Endurance, every ten points give an additional +10 Energy.
The practical takeaway is simple: values like 47 or 68 are wasted points. Always round your stats up to exact tens, and the same investment will work noticeably more efficiently. This is especially felt at high levels.
Do not chase versatility. A character who has a little bit of everything loses in both damage and survivability. Choose two key stats for your playstyle and invest in them; boost the rest with equipment, seals, and cards.
Talents: Passives That Change Skills
Parallel to stats, the character gains talents. Unlike stat points, talents are not numbers, but modifications to specific skills, and they form your build.
A couple of examples to show the scale. The Warrior's "Might" talent cuts two seconds off the cooldown of "Wrath" and "Circular Strike" and makes them apply two layers of "Broken Armor" at once. The Archer's "Assault" talent increases "Explosive Shot" damage by 30%, but the recoil knocks the character back eight meters and doubles the energy cost.
The last example is telling: talents often come with a caveat. Read the full description. An eight-meter knockback in a dungeon can either save your life or throw you straight into a mob crowd.
A separate category of talents grants entirely new skills instead of upgrading existing ones. These are almost always worth taking first.
Level 20: The Crossroads Where Experience Halts
Here is the trap worth reading this guide for. Upon reaching level 20, the game will offer you to choose a Profession — a second class. And until you choose it, experience stops accumulating entirely. It doesn't decrease, it doesn't slow down — it just stops. Every year, dozens of beginners write on forums that "leveling is broken," when in reality, they have a pending profession change offer.
So, when you hit twenty, immediately open the profession selection window and take the quest chain. The options are:
- Warrior becomes a Crusader or Dark Knight
- Archer becomes a Hunter or Sniper
- Mage becomes a Wizard or Warlock
- Rogue becomes a Bandit or Assassin
Briefly: Crusader is the light half (healing/support); Dark Knight crushes with damage and vampirism. Hunter works with a pet and traps; Sniper is pure long-range single-target damage (firearms/mortars). Wizard is the only full support class with healing and shields (there are no dedicated priests). Warlock uses chaos magic for huge damage and lifesteal. Bandit uses dual weapons for crowd control. Assassin uses stealth for precise deadly strikes.
The profession choice cannot be redone, so spend five minutes reading the skill descriptions in the client. If you want to play in groups and always be needed, look at Wizard and Crusader. If you like solo farming, Sniper and Warlock.
The Journey from 1 to 65 and Travel
The maximum level is 65, and the road is broken into neat five-level segments. Quests are given in blocks (10-14, 15-19, etc.). You always know where to go next.
The geography is linear. You start in the capital Varlone, then move to Taskona Valley, Forest of Shadows, Maragorne, Mistgan, Andynopolis, Worlax, Aloha, Elgan, Teuton, and Aranta. Each region is significantly tougher.
For travel, portals at zone borders are key. Furthermore, major cities host Maidens — special NPC teleporters. They transport you instantly for gold, but only to Maidens you've spoken to before. Also, the Royal Blessing (premium buff) unlocks the "Save Portal Point" talent, allowing you to save up to 7 locations in Aura for instant teleportation.
Rest Points
Royal Quest rewards breaks. If you are offline for more than eight hours, you accumulate Rest Points. While active, you receive double experience from monsters and quests.
The full reserve restores in twenty hours (eight hours wait + twelve hours accumulation). The size of the bonus covers up to 60% of the XP bar at early levels, but drops to a symbolic 3% by level 50. Plan accordingly: log in after a break, burn the double XP on quests, and then move to normal farming.
Monster Varieties and Elements
Monsters are the primary source of resources. They are divided into 11 races (humanoid, orc, undead, mechanism, etc.), which affects their resistance to different damage types. They also have different status tiers:
- Common: Standard enemies in all locations.
- Leader: Buffed versions of common mobs with a random spawn chance.
- Elite: Strong enemies with unique loot and fixed respawn timers.
- Boss and World Bosses: Final dungeon opponents or massive global threats. They drop special chests and highly valuable Boss Cards.
It's important to understand enemy AI. Besides the usual "Aggressive" (attack on sight) and "Neutral" (wait for your strike) monsters, there are Helpers — they will assist their kin if you start hitting them. But the most interesting are the Collectors (looters). They run around the location vacuuming up dropped loot from the ground. If you kill such a greedy creature, it will drop everything it managed to hoard.
The combat system is built around Elements. Every monster is protected by one of the main elements — Earth, Air, Fire, Water, Chaos, Poison, or Neutral. Hitting a monster with its opposing element (e.g., Water against Fire) yields 120% damage. Hitting a monster with its own element is a direct loss: damage drops to 80%.
In practice, there is no single "best" weapon in the game. Experienced players carry two or three weapons for different elements. If monsters are taking too long to die, first check the element, not your upgrades.
Equipment: C, B, and A Grades
All armor and weapons are divided into three grades. C-grade is starter and mid-tier gear. B-grade is solid mid-game. A-grade is top-tier endgame gear. Upgrading items can be done in three independent ways: Enchantment, Seals, and Cards.
Enchantment: Gains and Risks
Enchantment raises base defense and attack. It is performed by the Royal Alchemist. C-grade goes up to +10, while B and A go up to +11 (which adds +1 to all character stats). The growth numbers are huge: Armor at +10 gives double its base defense.
The main consumable is the Philosopher's Stone. The result can be threefold: level increases by one, decreases by one, or the item is destroyed. Up to +5, chances are forgiving. Beyond that, it's a casino. Therefore, use insurance: the Ashkalot Cube prevents destruction, while the Rune of Preservation or Rune of Cold (added to the main stone) prevents both destruction and level downgrade. Do not enchant anything past +5 before level 40.
Seals: A Four-Color Lottery
A Seal is an additional set of bonuses applied by Enchantment Specialists. For the first seal, you need a gem matching the grade. Each seal has a name and a color (Green, Blue, Purple, Orange). Orange is the best, offering roughly double the stats of Green. The color drops randomly.
Two items help mitigate this: the Heart of Arcon guarantees the color won't fall below Blue, and Arconite Sealing Wax locks the seal's name, leaving only the color to chance. Note: applying a seal without Wax makes an unbound item personal upon equipping (bound to account).
Cards: The Main Source of Elemental Damage
The third layer of upgrades is Cards, inserted into gear slots. They often dictate your attack element. One card goes into one slot, and a single item can hold no more than one Elemental card. Inserting a card requires holding Shift + RMB and dragging the card.
The most unpleasant rule is regarding extraction. You can only extract Boss Cards and Elite Monster Cards, for a fee in Royal Reals (500 for a Boss, 200 for an Elite). Be careful: after extraction, these cards become permanently bound to your account. All other common cards cannot be extracted at all; replacing them simply destroys the original card.
Also notable are Blood Cards (PvP cards increasing defense against player damage and control resistance) and Transmutation Cards (universal cards fitting any gear).
Mounts and Pets
Mounts are equipped in a special slot and summoned with a hotkey (default E). They speed up running and give stat bonuses. Most importantly: once you use a mount from your inventory via RMB, it goes into your Collection and grants a permanent passive bonus to your character's stats forever, even when not summoned. The more mounts you collect, the stronger the cumulative effect.
Mounts require energy, replenished by "Energy Dust" pouches. If energy drops to zero, the mount slows down massively and all its bonuses (including collection bonuses) disable. Beginners should save gold and buy the "Sarah" mount from the Head of the Merchant Guild in Varlone.
Pets are non-combat companions. However, if equipped with a "Special Collar", they become auto-looters and gather all dropped trophies for you.
Crafting: Alchemy and Matter Splitting
Item creation happens in the Alchemical Cauldron. You need a recipe (consumed upon use) and ingredients, which the cauldron automatically pulls from your backpack. Success chance depends on item complexity. To avoid losing resources on failure, use a "Reaction Stabilizer" for a 100% success rate.
Unwanted armor or weapons can be dismantled into Elum using the Matter Splitter (it has three efficiency modes: normal, stream, and vortex). For safe processing of raw materials (ore, skins) into ingots and fabrics, capitals feature special Workbenches and the Elenium Converter, which upgrades materials using Alchemical Runes.
Trade, Fishing, and Economy
The world of Aura has classic NPC merchants for quickly dumping junk, and Market Managers (auction house) located near Maidens. If you want to trade seriously, you'll need a Trading Spot — a contract bought from the Head of the Merchant Guild. It allows you to set up your personal stall (6-12 slots) right in the city for a specific duration.
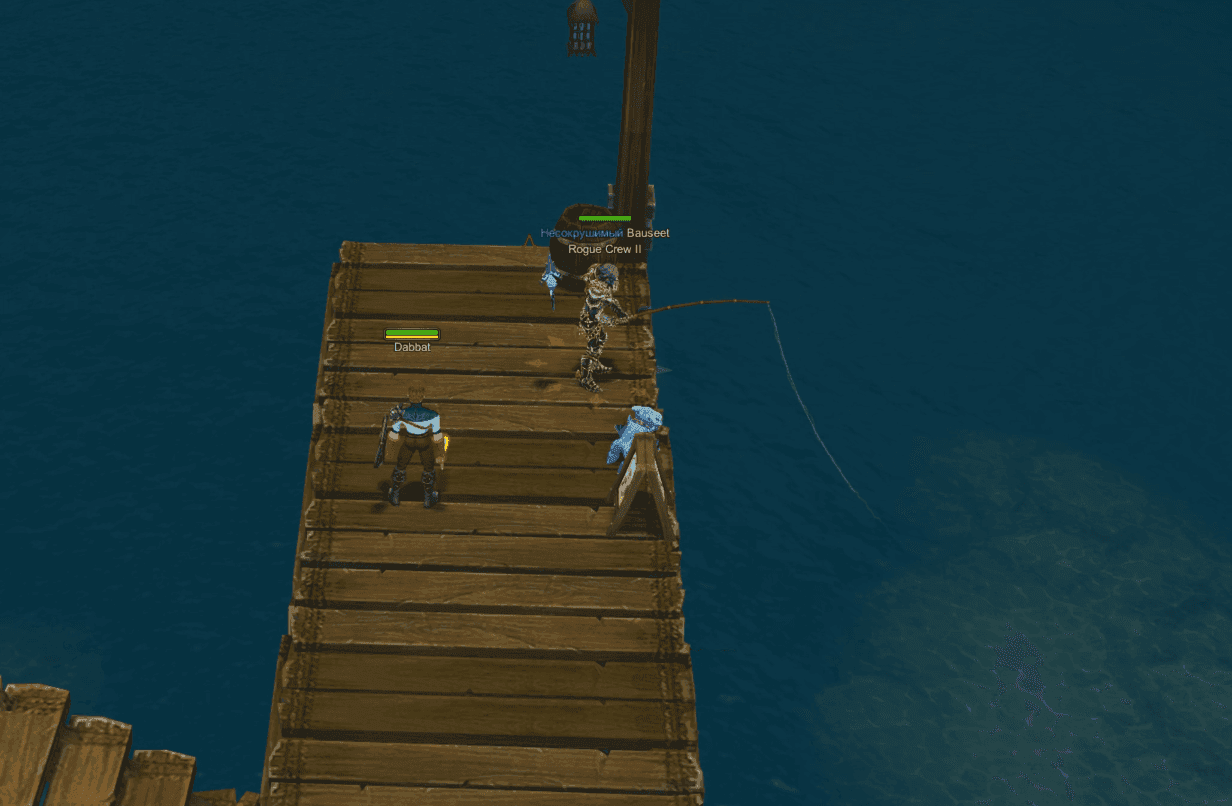
To take a break from battles, try Fishing. Equip a Fishing Rod (expensive rods increase the chance of good catches but break faster) and head to water marked with a hook or sign. The main rule: bait must match the fishing ground. The exception is the universal RUFFE bait, which bites everywhere. Watch the float icon and hook the catch on time. Caught fish can be exchanged for Fishcoins to buy better tackle. Use Groundbait to fish faster and the "Fishing Oracle" buff to find the best spots.
Groups and Why They Are Beneficial
Royal Quest can be played solo, but groups offer tangible benefits. Each class has a class aura that affects all group members. Only one aura per character can be active, so a diverse group automatically gets more buffs. Don't forget "First Aid" (available from level 1) to restore health without potions.
PvP: Where You Can Be Killed
Royal Quest is formally a peaceful world. Regular locations and capitals are safe. The exceptions are Crypts / Elenium Caves — dungeons with free PvP where anyone can kill anyone without penalty. In return, XP and drop rates are higher there. The second exception is guild wars. If you want organized fair fights, visit the Battleground.
Guilds, Castles, and the Endgame
A Guild is a full system. Guild members contribute experience, raising its level. Development points (gained from levels) are spent on common buffs. There is also a shared Guild Storage with rank-based access; its capacity is expanded using special "Guild Gold".
Most importantly, guilds grant access to Castle Wars. Victorious guilds claim castles and the dungeons beneath them. Castle ownership also allows the Guild Leader to summon exclusive bosses.
Frequently Asked Questions
Experience stopped at level 20, is it broken? No, you just haven't chosen a Profession. Open the profession window and take the quest chain.
Monsters take too long to die? Check three things: 1. Element mismatch (use the opposing element). 2. Missed stat multiplicities (round up your stats to tens). 3. You ran too far ahead in locations.
Enchantment broke my item. How to avoid this? Use insurance (Ashkalot Cube, Rune of Preservation).
Do I need premium status? Not for leveling, the game is free. But premium (Royal Blessing) unlocks the "Save Portal Point" skill, saving massive amounts of time at high levels.
Where to Go Next
The path: 1-20 just quest and save money. At 20, get a profession immediately. 20-40 gather multiplicities, learn elements, get +5 enchants. Past 40 is the real game: A-grade, serious enchanting, purple seals, Elenium caves, and guilds.
Royal Quest is unhurried and pleasantly old-fashioned. Give it time — around level thirty, when the first decent gear opens up, you'll understand why it's all worth it.